


Table of Contents
When installing a virtual machine on your system, there is a chance that the machine will not start and you will receive an error stating that VT-x is disabled (or referencing a problem with AMD-V if you have an AMD CPU). This indicates that the BIOS settings for hardware acceleration required by the CPU to support virtualization are currently disabled. This issue will be addressed in this article.
Accessing the BIOS may vary from one manufacturer to the next. Depending on the age or model of the computer, the same manufacturer may also implement different BIOS versions.
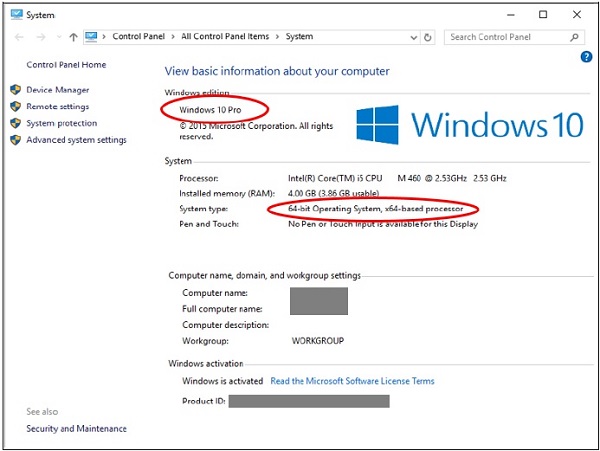
Hyper-V is the Windows 10 virtualization technology. To enable virtualization in Windows 10, activate the Hyper-V add-on.
- To enable Hyper-V, you must be running Windows 10 Enterprise, Pro, or Education. Windows Home, Mobile, and Mobile Enterprise lack support for Hyper-V.
- Additionally, the PC must satisfy the following hardware requirements:
- Processor 64 bits with Second Level Address Translation (SLAT)
- The CPU MUST support VM Monitor Mode Extension (VT-c on Intel processors).
- The minimum memory size of 4 GB. It should be greater depending on the number of concurrent Virtual Machines you intend to run.
- Lastly, you must enable Virtualization technology in the BIOS of the computer.
Advanced Techniques For Enabling Hyper-V In Windows 10
- Toggle Windows Function On or Off
- Command DISM /Enable-Feature
- Enable-WindowsOptionalFeature cmdlet for PowerShell.
Easy Steps To Allow Virtualization In Windows 10
To enable virtualization on your Windows 10 system, please follow the steps below:
- Step 1: From the start menu, select the settings option.
- Step 2: Locate the update and security link and click it.
- Step 3: Once a new tab has opened, locate recovery and click on it.
- Step 4: In recovery, navigate to advance startup. Under advance startup, you’ll find the restart now button; click it.
- Step 5: Once you see the blue screen with several icons, you must choose the Troubleshoot option.
- Step 6: Select Advanced options,
- Step 7: Since our issue is with the firmware, we must locate this setting. Once the UEFI firmware settings have been selected, the restart button will reappear; press enter to restart.
- Step 8: Locate the BIOS setup and press the corresponding function key. Here it is F10. So press F10 (Fn+F10 for Lenovo systems).
- Step 9: A new panel will open; navigate to System configuration by pressing the up, down, left, and right arrow keys and locate Virtualization Technology. After selecting virtualization technology, press the enter key.
At this point, your virtualization technology is enabled. You can exit by pressing F10 here.
Activate Hyper-V Using CMD and DISM
The Deployment Image Servicing and Management tool (DISM) assists with Windows and Windows image configuration. Among its many uses, DISM can activate Windows features while the operating system is active.
To enable Hyper-V using DISM, you must:
Open an administrative PowerShell or CMD session.
ALSO READ: How To Increase Android’s Processor Speed In Easy Steps?
Enter The Following Instruction:
Enable Hyper-V Through The Settings
- Click the Windows button with the right mouse button and select “Apps and Features.”
- Select Programs and Features under Related Settings on the right.
- Select Enable or disable Windows features.
- Select Hyper-V and then press OK.
DISM Can Also Be Used To Enable Hyper-V (virtualization) On Windows 10.
Here Are The Instructions:
- Input cmd within the search box. Then, click Command Prompt and select Run as administrator from the context menu.
- If prompted by User Account Control, select Yes.
- At the prompt, type the following command: Press enter then.
- Microsoft Hyper-V.
- The command lists all Hyper-V capabilities…
How to Enable Virtualization With PowerShell In Windows 10
Here are the procedure’s steps:
- Explore PowerShell. Then, click Windows PowerShell and select Run as administrator from the context menu.
- Type the following command at the PowerShell prompt to list available Hyper-V features. Press enter then.
- Where-Object $_.FeatureName -like “Hyper-V” | Get-WindowsOptionalFeature -Online
- The command lists all Hyper-V capabilities…
- Type this command to turn on all Hyper-V features. Press enter then.
- Enable-Online -FeatureName -WindowsOptionalFeature Microsoft-Hyper-V-All
- The command installs the capabilities. Then, request a restart. Type Y. Press enter then.
Conclusion
Virtualization is very simple to enable in Windows 10! If our article enabled you to enable virtualization in Windows 10, please respond to this article’s topic and revert back for any other queries like these.
MUST-READ: How To Install Android 13 Beta On Your SmartPhone?